Growing Mulberries in Pots: Sweet Harvests from Small Spaces
Share
Here’s your mulberry guide restructured in the same warm, lesson-driven format — perfect for urban gardeners and curious plantitas with limited space 🌿💜
🍇 Growing Mulberries in Pots: Sweet Harvests from Small Spaces
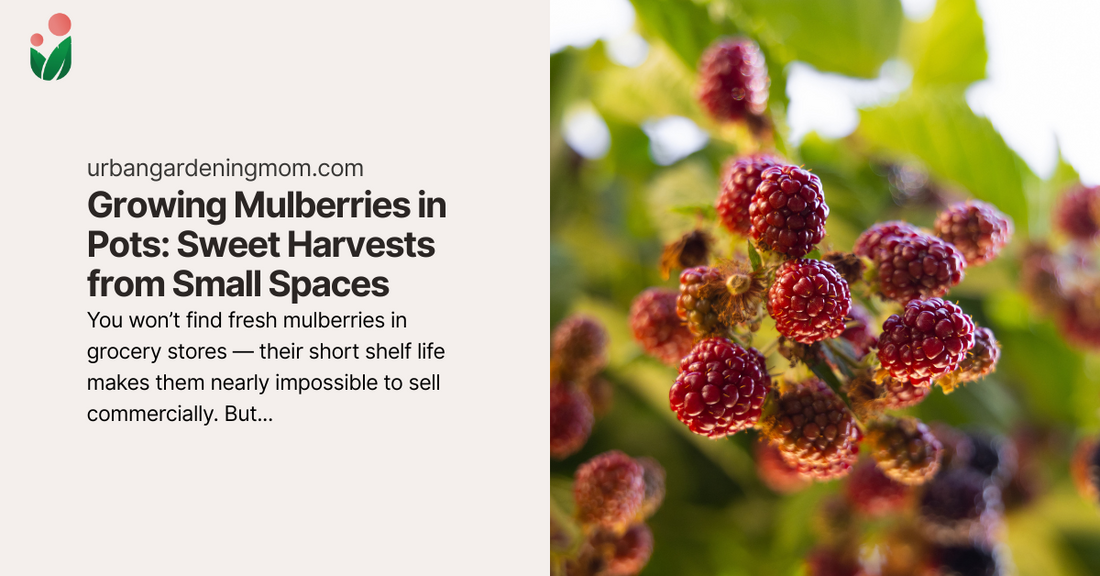
You won’t find fresh mulberries in grocery stores — their short shelf life makes them nearly impossible to sell commercially. But lucky me, I get to enjoy the sweet taste of homegrown mulberries, thanks to a thoughtful gift of cuttings from Gracel, a fellow gardener in Iloilo.
Mulberry trees can grow up to 30 feet tall when planted in the ground — not ideal for city living. But here’s the good news: mulberries can thrive as compact bushes in large pots, making them perfect for urban gardeners with limited space.
🌱 1. Propagating Mulberries from Cuttings
Skip the seeds — cuttings are the fastest way to fruit.
You’ll need:
- Healthy mulberry stem (15 inches long)
- Sharp scissors or garden shears
- Rooting hormone (optional)
- Potting mix
- Medium-sized pot with drainage holes
How-to:
- Choose a mature stem and cut off the top.
- Trim the bottom tip diagonally and remove large leaves.
- Dip the tip in rooting hormone (optional).
- Plant in moist potting mix and water generously.
- Keep in a shaded, covered area away from direct sun or rain.
🌟 Lesson: Growth begins with a thoughtful start — and the right cut.
🌞 2. Watching for New Growth
Signs of life mean your cutting has rooted!
You’ll need:
- Spray bottle
- Sunny spot (morning sun only)
How-to:
- Look for new leaves — a sign the roots are forming.
- Gradually expose the pot to morning sun (2 hours max for the first week).
- After 2 months, transfer to a larger container.
🌟 Lesson: Patience pays off — new beginnings take time.
🪴 3. Caring for Your Potted Mulberry
Keep your plant healthy and productive with simple care.
You’ll need:
- 5-gallon container (upgrade as needed)
- Organic fertilizer
- Pruning shears
- Watering can
How-to:
- Place in a sunny spot (6–8 hours of direct light).
- Water deeply only when soil feels dry.
- Prune after each harvest to encourage bushy growth.
- Fertilize regularly to support new branches and fruits.
🌟 Lesson: With care and pruning, even trees can stay small and mighty.
✂️ 4. Harvesting Your Mulberries
Sweet rewards from your own backyard!
You’ll need:
- Garden scissors
- Basket or bowl
How-to:
- Mulberries grow on new branches after pruning.
- Wait for berries to turn dark red or black before picking.
- Expect dormancy after harvest — prune to restart the cycle.
- New growth appears in about a week, followed by fresh berries.
🌟 Lesson: Fruit follows effort — and a little seasonal rest.
From Cuttings to Sweet Success
Mulberries may be rare in stores, but they’re not out of reach. With a little space, a thoughtful cutting, and consistent care, you can enjoy fresh berries right from your balcony or patio. Whether you’re growing for the fruit or the joy of gardening, mulberries are a delicious reminder that good things grow in small spaces.
Have you tried growing mulberries at home? Tag me @UrbanGardeningMom — I’d love to feature your berry-filled journey! 💚