Growing Kale in the Tropics: A Beginner’s Guide for Urban Plantitas
Share
Kale has become a favorite among health buffs and weight-watchers — and for good reason. It’s packed with nutrients, high in fiber, and low in calories, making it a superstar in juices, salads, and smoothies. While it’s typically grown in cooler climates, the good news is: you can grow kale right here in the Philippines!
Whether you're a newbie gardener or a seasoned plantita looking to expand your leafy lineup, here’s how to grow Tuscan kale — also known as lacinato, dinosaur, or Italian kale — in tropical conditions.
🌱 1. Starting Your Kale Seeds
Begin with a simple setup using recycled materials.
You’ll need:
- Tuscan kale seeds
- Seed tray or recycled cups with drainage holes
- Potting mix
- Spray bottle for watering
How-to:
- Fill your tray or cups with moist potting mix.
- Sow seeds about ¼ inch deep.
- Keep in a shaded area and mist daily.
- Germination takes 5–8 days, but may be slower in summer.
- Gradually expose seedlings to sunlight (start with 2 hours/day).
🌟 Lesson: Growth takes time — and gentle care.
🪴 2. Transplanting for Bigger Leaves
Give your kale room to stretch and thrive.
You’ll need:
- Deep container (at least 12 inches wide) or garden bed
- Organic-rich soil
- Mulch or shade cloth (optional)
How-to:
- Transplant seedlings when they’re 3 inches tall.
- Use deep containers for larger, juicier leaves.
- Keep soil consistently moist and nutrient-rich.
- During cooler months, place in full morning sun.
- In summer, provide dappled shade to prevent leaf scorch.
🌟 Lesson: Environment shapes growth — just like in life.
💧 3. Caring for Your Kale
Consistency is key to healthy, happy leaves.
You’ll need:
- Watering can or hose
- Organic fertilizer (rich in nitrogen)
- Mulch or shade netting
- Organic pesticide (optional)
How-to:
- Water deeply when soil feels dry.
- Fertilize monthly with compost or organic feed.
- Watch out for cabbage worms and leaf miners.
- Spray organic pesticide only at dusk or after sunset.
- Use netting to protect from flying pests.
🌟 Lesson: Protection and nourishment go hand in hand.
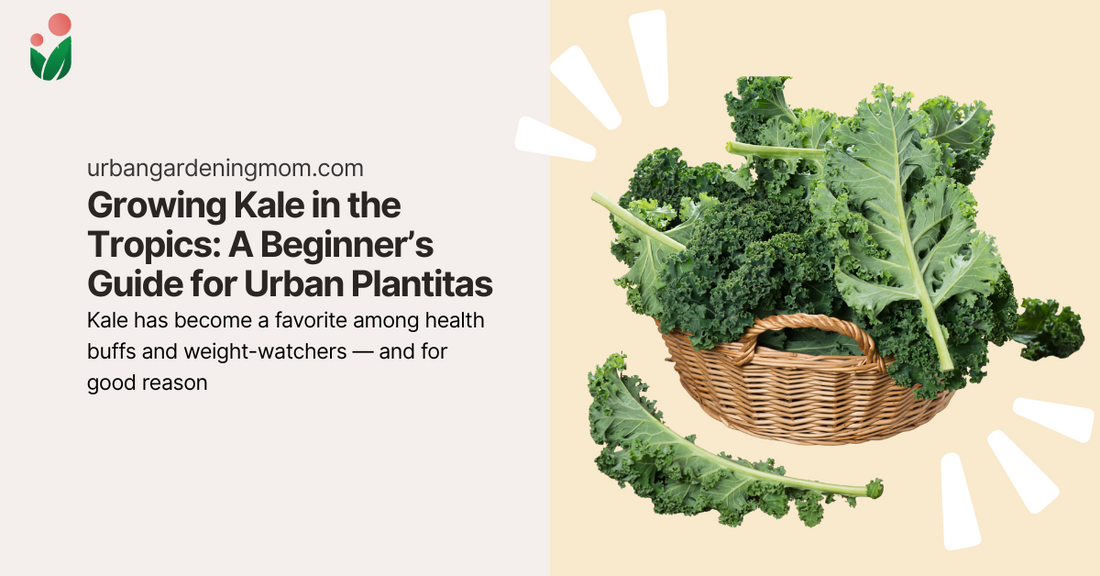
✂️ 4. Harvesting Your Kale
Pick leaves at their peak for the best flavor and texture.
You’ll need:
- Garden shears or scissors
- Basket or container
How-to:
- Best harvest season: November to February (cooler months).
- Leaves are ready in 60 days — tender and juicy!
- Cut mature leaves from the bottom of the stalk.
- Avoid cutting the top bud to encourage regrowth.
- Harvest in the morning for softer texture.
🌟 Lesson: Don’t rush — the best things take time to mature.
From Seed to Superfood
Growing kale in the tropics may take a little extra care, but the rewards are worth it — fresh, nutrient-rich greens right from your garden. Whether you're juicing, sautéing, or tossing it into a salad, Tuscan kale brings flavor, fiber, and a sense of accomplishment to your plate.
So go ahead, plant that seed. With patience, shade, and a little love, your tropical kale garden will thrive — even under the Philippine sun 🌞🌿
Have you tried growing kale at home? Share your leafy success or tag me @UrbanGardeningMom — I’d love to feature your tropical harvest! 💚