Growing Microgreens: Fast, Nutritious Greens for Small Spaces
Share
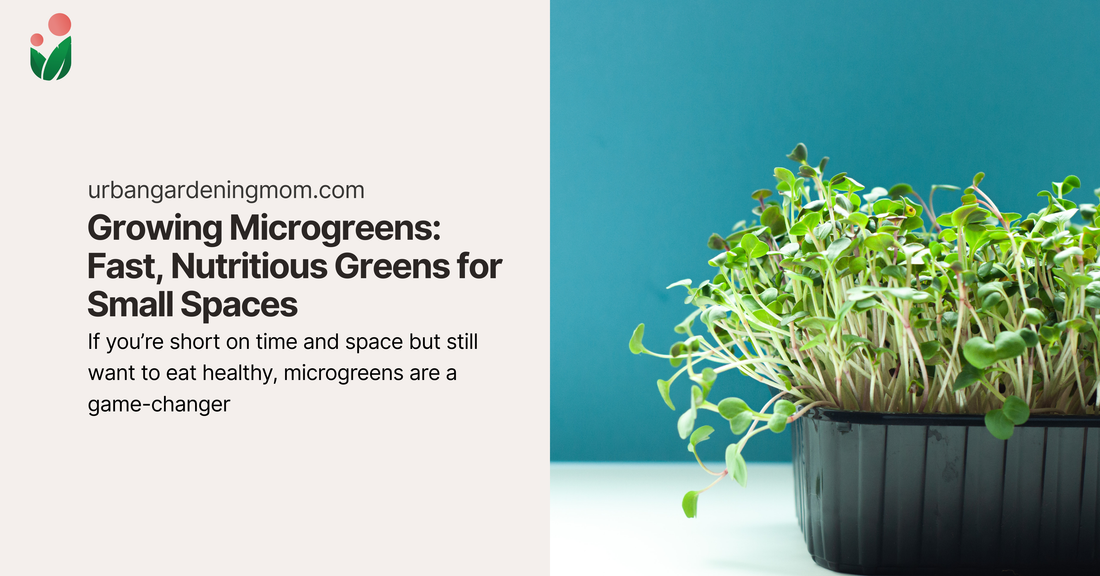
If you’re short on time and space but still want to eat healthy, microgreens are a game-changer. These tiny vegetable seedlings are harvested young — usually in just 7 days — making them perfect for urban gardeners who want quick wins and nutrient-packed harvests.
---
1. Microgreens vs Sprouts vs Baby Greens
Let’s clear up the terms.
- Sprouts: harvested in under 7 days, no leaves yet (think mung bean sprouts).
- Microgreens: harvested between 7–21 days, when the 3rd or 4th leaf appears.
- Baby greens: harvested later, with more leaves and tender stems (like arugula).
Lesson: The difference is in the timing — and the texture.
---
2. What Seeds Can Be Grown as Microgreens?
Here’s a beginner-friendly shortlist:
- Pechay
- Pakchoi
- Radish
- Arugula
- Mustard greens
- Lettuce
- Amaranth
- Cabbage
- Alfalfa
- Broccoli
There are over 100 varieties to explore — even sunflower seeds can be grown as microgreens. But be cautious: not all seeds are edible at this stage. Avoid eggplants and always label your trays.
Lesson: Know your seeds — safety and flavor go hand in hand.
---
3. Nutritional Benefits of Microgreens
According to Healthline, microgreens contain up to 40 times more nutrients than their mature counterparts. A cup of pechay microgreens, for example, packs more vitamin C, E, and beta-carotene than a cup of full-grown pechay.
Other benefits include:
- Lowering risk of heart disease
- Supporting brain health
- Managing diabetes
- Fighting inflammation and certain cancers
Lesson: Big nutrition can come in small leaves.
---
4. How to Grow Your Own Microgreens
They’re easy to grow year-round — indoors or outdoors.
You’ll need:
- Seeds of your choice
- Reusable container (at least 2 inches deep)
- Soil-less potting mix or vermiculite
- Misting spray bottle
- Grow lights (optional)
Steps:
1. Fill container with potting mix (2 cm deep).
2. Water lightly until moist.
3. Sprinkle seeds evenly.
4. Cover with a thin layer of mix.
5. Mist regularly to keep moist.
6. Place in a well-lit area.
7. Optionally cover with plastic lid until sprouted.
8. Once germinated, expose to morning sun (2–3 hours daily).
Lesson: With just a few steps, you can harvest greens in a week.
---
Small Greens, Big Impact
Microgreens are proof that healthy living doesn’t need a big garden or a long wait. Whether you’re growing pechay, arugula, or radish, these tiny leaves offer flavor, nutrition, and joy — all in a matter of days.
Have you tried growing microgreens at home? Tag @UrbanGardeningMom and share your harvest — let’s inspire more plantitas to grow their greens, one tray at a time.