Grow Your Own Dill
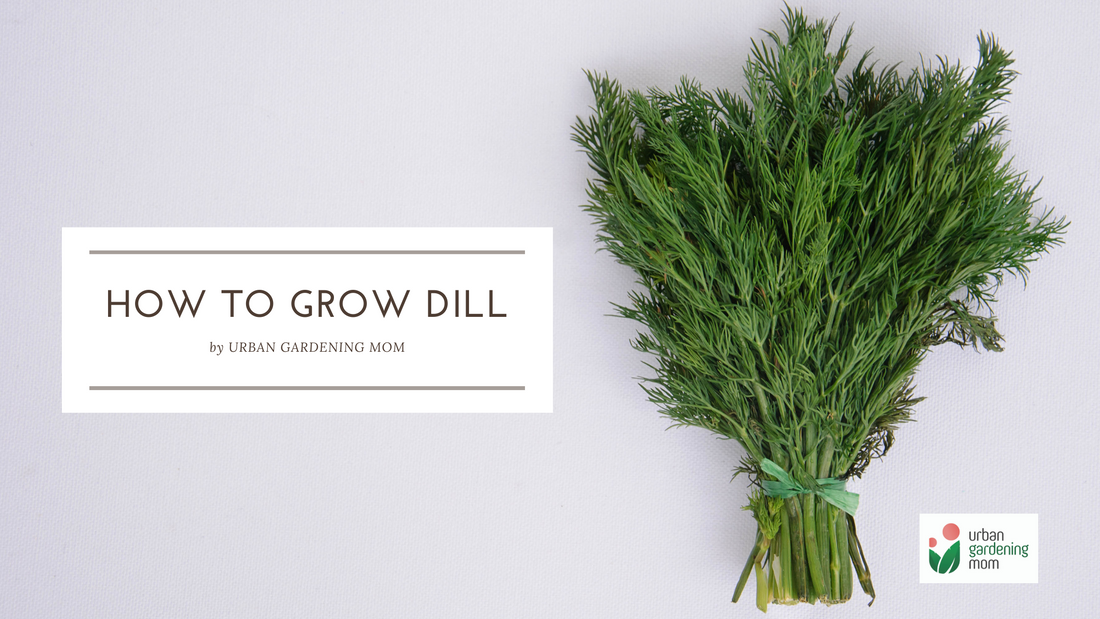
Next to rosemary, dill is my favorite herb seasoning. I use freshly chopped dill weeds as topping over baked potatoes, fish recipes, salad dressings or egg recipes. Its needle-shaped leaves and subtle flavor make them an ideal garnish for potato salads and cold cuts. It is a fern-like herb related to both parsley and cilantro, with a mildly tangy and citrus-like aroma. Both the leaves and the seeds can be dried and used for seasoning.
The most difficult part in growing dill lies mostly in the seed starting. Those growing dill for the first time may find this a bit challenging, because its feathery- soft leaves are prone to damage from harsh external elements, like strong winds, extreme heat or heavy rains. But once you get past this stage, it gets better and easier for the gardener.

Therefore it's best to start your dill seeds indoors. Simply drop a few tiny seeds into a medium-sized pot (or seed starter pots) filled with rich, moist, well drained seed starter mix. Then, cover the seeds with a thin layer of seed starter mix, watering it lightly to keep the top part moist. Place the pot in a well-lit area (like beside a window), away from direct sun or rains. Check everyday to ensure that the potting media is still damp or moist, never allowing it to dry up completely. At the same time, be careful not to overwater them as this may cause "damping off".
In about 7 days, the seeds will start to germinate. Because the new sprouts are very thin and delicate, you may opt to provide a cover using the re-used half of a plastic bottle. After three more weeks, the new seedlings will grow to at least 3 inches. By then, start to thin out the seedlings, keeping only 3 or 4 healthy seedlings per pot. If you sowed them in starter pots, you can now prepare to transfer them in bigger seedling pots. When transferring to a pot, use a good quality potting media that drains well but still retains enough moisture. Gradually expose the seedlings to sunlight, starting with 2 hours per day, increasing to 4 hours after 5 days, and so forth. You will notice that the seedlings will grow faster once they have started to get more sun exposure. When they are already well-adjusted to sunlight, it’s best to place them in an area of your garden that gets least 6 hours of sunlight per day.

Add plant nutrients every 3 weeks, but do not to over-fertilize, or otherwise compromise its flavor. To harvest, trim around 2 or 3 inches from the outer leaves once the plant has reached at least 8 inches. You can continue to harvest the leaves for as long as it has not started to "bolt" or produce its flowers.
Keeping the soil moist is important. In our typically warm weather here in the Philippines, watering is necessary at least every other day during dry seasons, or more often, when the soil feels dry.
Summertime can be stressful for them which can cause them to bolt pre-maturely. When the temperature gets too hot, especially in the afternoon, provide some dappled shade or mulch (soil topping) to prevent over-evaporation of moisture.

The dill plant’s average life lasts for only about a year (or even less considering the hot weather climate here in the tropics). At the start of its life cycle, its flavor and aroma are concentrated in the leaves. Once the plant starts to bolt, the leaves will begin to lose their flavor. At this stage, harvest the seeds after the flowers have bloomed and about to change their color. The seeds can be dried and used for seasoning, or saved for the next planting season. Allow the flower seeds to turn completely brown before harvesting the seeds if you intend to use the seeds for the next season’s crops.
1 comment
I bought a pot of dill plant but the lower part becomes brown as well as the leaves. Did i over water it or it lack nutrients? Thanks in advance