Container Gardening Tips for Growing Okra
I’m an advocate of the okra for beginners in urban gardening. Not only is it easy to cultivate and grow, it also provides numerous health benefits for the family. Okra contains a lot of vitamins and minerals, including vitamin B and C, folic acid and calcium. It is also rich in fiber and low in cholesterol. Okra water has been known to regulate blood sugar levels, especially for diabetics.
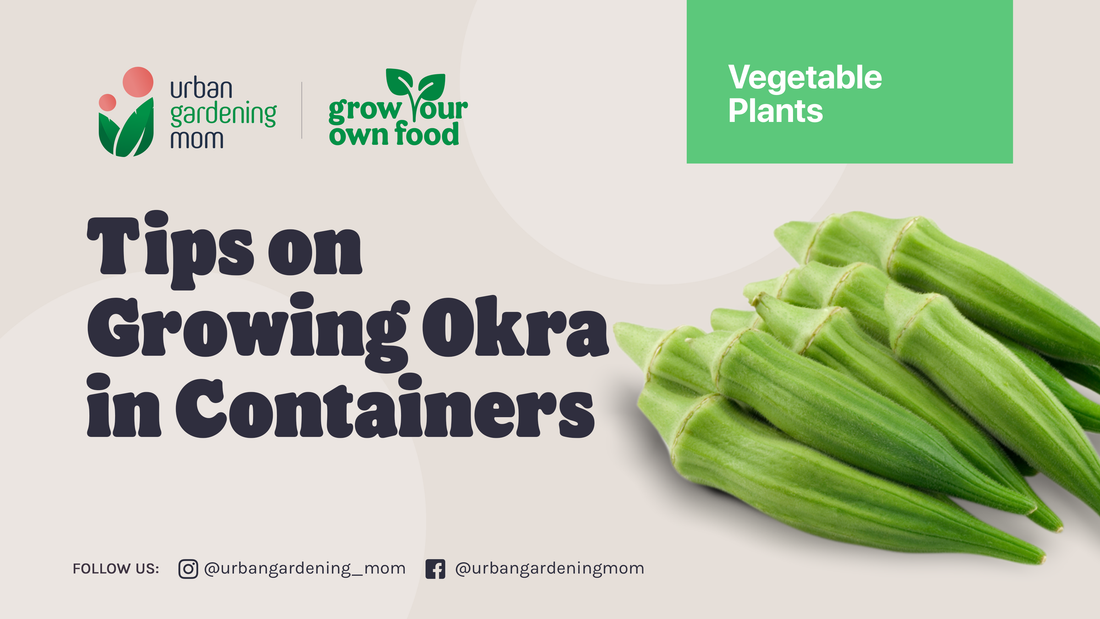
Also known as lady’s fingers or gumbo, okra is one of the easiest vegetables to grow in our climate zone. In the Philippines, it is a popular vegetable, whether cooked alone or combined with other local vegetables. The plant is very sturdy, as it can withstand even the scorching summer heat that we have here in Manila. With proper care, the okra plant will produce regularly all year round.

Here are a few simple tips in growing okra in a container:
Start from okra seeds
Sow the seeds in a seed tray. When buying seeds, I would always recommend the local brand because these seeds have been developed and hybrid tested to withstand our local weather conditions. I had once tried to use seeds from the actual okra pods that I bought in the grocery but they did not germinate successfully.
Transplant the seedling
As soon as the 2nd set of leaves appear, you can transplant the seedlings into a medium sized pot (about 6-8 inches in diameter). This is only temporary, so as to allow the okra to establish its roots first before transplanting into a bigger pot. Also for practical reasons, you want to make sure that the seedling will thrive successfully, before you invest more time money with a bigger pot. Use a well-draining soil with a good amount of compost.
Choose a large container
As soon as the seedling reaches about 2 feet in height after around 3 weeks, you can transfer the plant into a large pot (minimum of 18 inches in diameter). Make sure there are enough holes at the bottom for the water to drain properly. The rule is: the bigger, the better. The bigger the pot, the taller the plant can grow and the more productive it will be. But of course, a bigger pot is more expensive and requires more potting soil. Okra can grow up to 5 feet, when planted directly in the ground.
Fertilize once a month.
Nutrients in the soil get depleted faster when using a container. Fertilize the soil at the sides of the pot where the root tips are mostly concentrated. There are commercially available organic fertilizers, but homemade fertilizers like coffee grounds and discarded fish parts (after cleaning the raw fish) are also as effective. Make sure to bury the organic fertilizer about 4 inches into the ground or soil.
Do not overwater
Depending on the climate zone, you should water the plants twice a week, or when the soil feels dry. To find out if the soil is dry, check if the soil is still moist when you dig about an inch into it. Water deeply, or until a little water starts to drip out of the container.
Spray pesticide every 3 -4 weeks
Okra plants can be prone to common pests, like aphids and spider mites. Spray them with organic pesticide every month, or every other week if there is heavy infestation.
Harvest in 3-4 days after the flower falls off and the small pod appears
Do not wait longer than 5 days before you harvest. The okra pods will become hardened and may not be ideal for cooking though you can still use them to make your okra water. Typically, the pods can grow to around 6 inches but I usually start to harvest on the 3rd day when the pods are still young and tender.